
The journal
Is caulk or silicone better to seal a bathtub?
Choose a sealant explicitly suitable for your bathtub, wall materials and wet joint. Silicone is a common option, but “caulk” is a broad label, not one competing material.
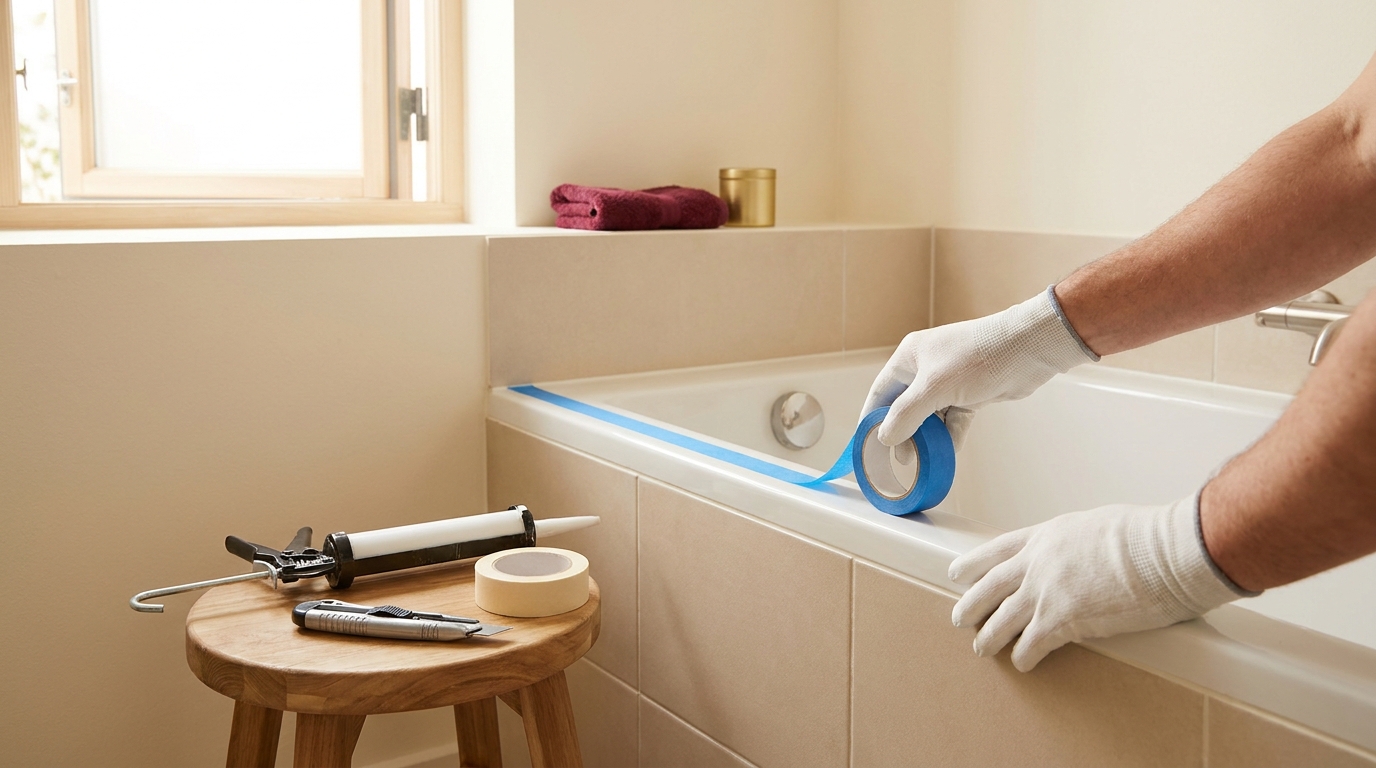
For the joint around a bathtub, choose a sealant explicitly intended for that wet-area application and compatible with the tub and wall materials. Bathroom silicone is a common option. “Caulk” is a broad product label, however, so the useful comparison is between exact formulations rather than assuming that every product called caulk is unsuitable.
Toolstation’s caulk-and-silicone comparison distinguishes typical decorator’s caulk from flexible silicone sealants. Loctite’s bathtub guide also identifies a product specifically sold for tub-and-tile sealing. Read the actual application and compatibility information rather than choosing by the category name alone.
Check the intended joint and materials
Look for a stated bathroom or tub-and-tile use and check the surfaces named on the label. The tub may be acrylic, enamel or another material, and the adjoining wall finish may need its own preparation. A product suitable for one surface is not automatically suitable for every bathtub.
If you need a painted finish, check paintability separately. A wet joint and a paintable decorative gap are different requirements. Do not choose a decorator’s filler solely because its colour matches the wall, or assume that all silicone can be painted after curing.
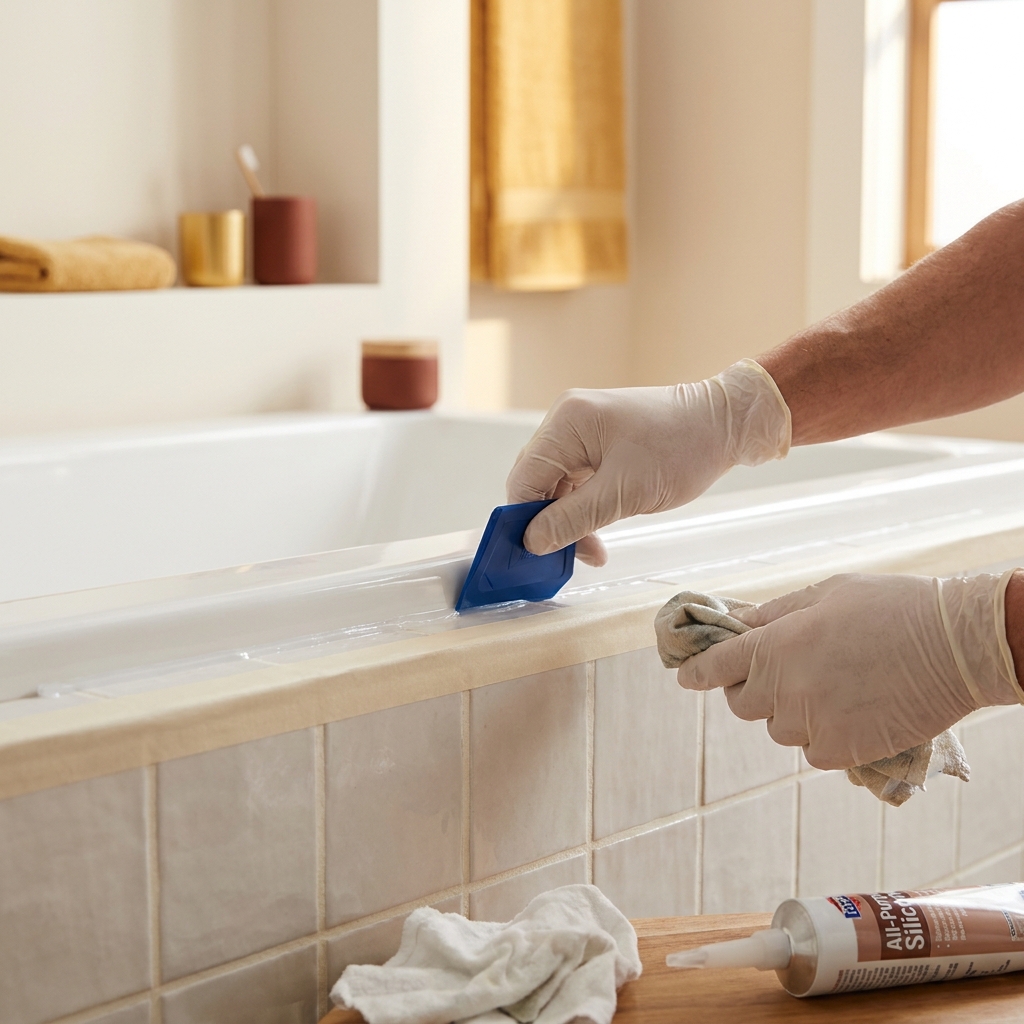
Prepare for the product you selected
Loctite’s guide starts with removing the existing product before applying a replacement. Follow the selected sealant’s instructions for removal, cleaning, drying and any primer. Use tools and cleaning products compatible with the tub finish. This guide does not prescribe a household bleach mixture or solvent treatment for every surface.
Inspect the joint before covering it again. A recurring leak, movement or damaged substrate needs attention at its cause; a fresh bead is not evidence that the underlying problem has been repaired. If you cannot identify the joint’s intended construction, ask the tub or enclosure supplier before resealing.
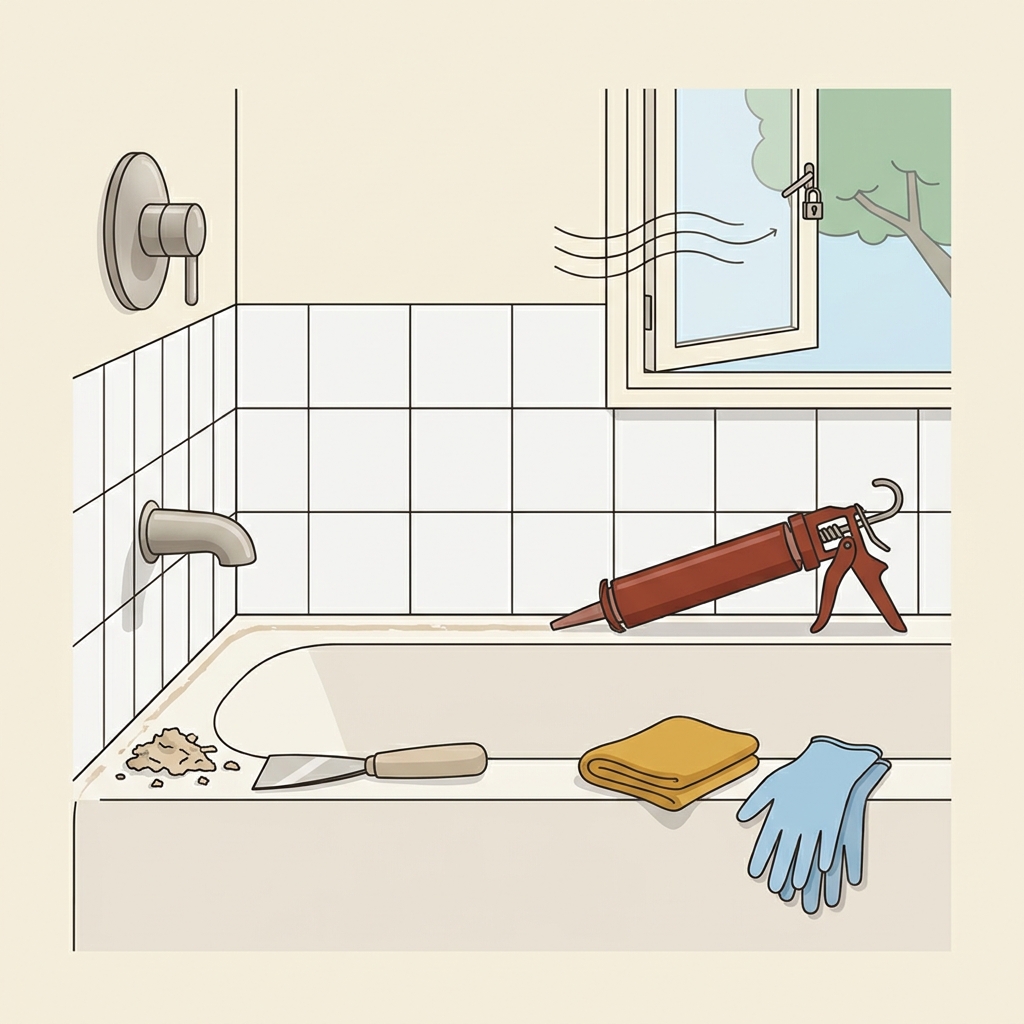
Apply and cure according to the label
Use the nozzle opening, bead shape and tooling method specified for the sealant and joint. Keep the required surfaces clean while working. A general smoothing tip does not override the product’s skin-contact precautions or its instructions about tooling liquids.
Leave the joint undisturbed for the stated period before exposure to water. A skin forming on the surface is not necessarily the same as full cure or readiness for showering. Read the exact label, including the conditions to which its timing applies, rather than copying a time from another tube.
Put this into practice
Write down the joint material, whether the joint moves and the exact sealant specified for it. Choose from that record before comparing labels such as caulk and silicone; keep the cure instructions with the job.
Choose the right bathtub sealant
What should I ask at the supplier?
Bring the tub material, wall finish and location of the joint. Explain whether you are replacing an old seal and whether leakage or movement is present. Those details help identify a suitable formulation; “caulk or silicone?” by itself leaves out the conditions that determine the choice.

Optional equipment for this guide
If you need a profiling tool, choose the joint shape and the sealant instructions first. The tool is optional; it does not decide which sealant is suitable.
As an Amazon Associate I earn from qualifying purchases. These are researched options, not hands-on test results. Check the exact size or model, current price and availability on Amazon.
| Product option | Fit and limits to check | Retailer |
|---|---|---|
| Product imageCramer Silicone 7 profiling kit | An optional finishing tool. Choose a profile suitable for the actual joint and follow the sealant’s tooling instructions; it does not replace removing failed sealant. | View on Amazon |