
The journal
Should I use caulk or grout in the corners of my shower?
Use a flexible sealant (usually silicone) in shower corners and where tile meets the tub; grout is rigid and often cracks at changes of plane. See why and how to seal a tub-to-tile joint cleanly.
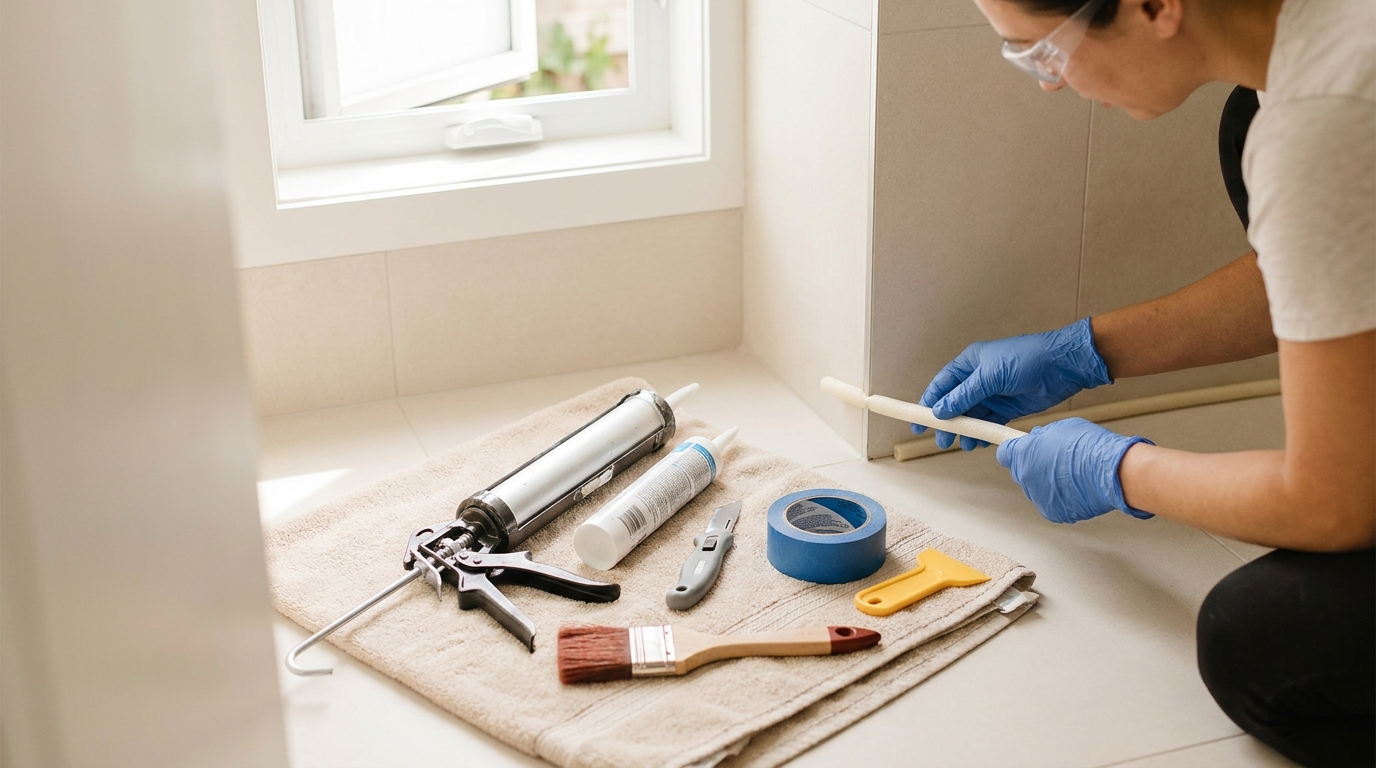
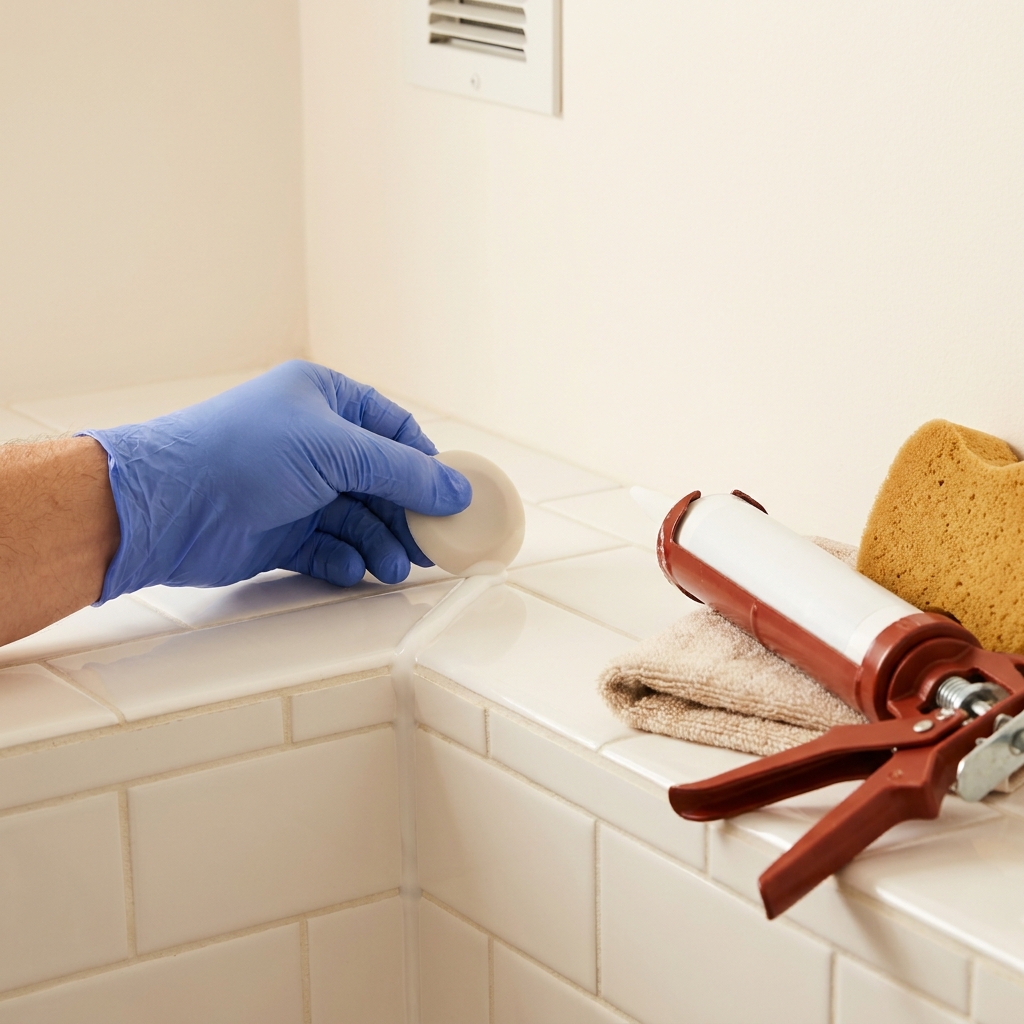
Why caulk beats grout at corners
Where two surfaces meet (wall-to-wall corners or wall-to-tub), buildings move a little with humidity and temperature. Cementitious grout is rigid, so it tends to crack in these spots. A flexible sealant such as caulk or silicone can move with the joint, helping the corner look intact and stay sealed against splash water. Many experienced tile installers prefer silicone for these changes of plane, while noting that any caulk bead is a maintenance item you’ll eventually replace. The Floor Elf: Caulk or Grout in Corners?
Important limitation: the corner filler is not your waterproofing. A properly built shower is waterproof behind the tile; the corner bead simply blocks surface gaps and keeps grime out. The Floor Elf: Caulk or Grout in Corners?
What to use at the tub-to-tile joint
- Choose a bathroom-rated, flexible sealant. Many installers prefer 100% silicone in wet joints because it stays flexible and is widely used in showers; color-matched options exist. Some builders use color-matched “sanded” caulks for a grout-like look. Always verify on the product label that it’s suitable for use in showers and follow its dry/cure time.
- Plan to re-caulk when you see cracks, gaps or loss of adhesion. Waiting until you notice wear is a reasonable maintenance trigger. Providence Homes: How to Caulk Your Shower Corners
How to seal the bathtub edge with silicone
This method creates a clean, even bead where your wall tile meets the bathtub rim.
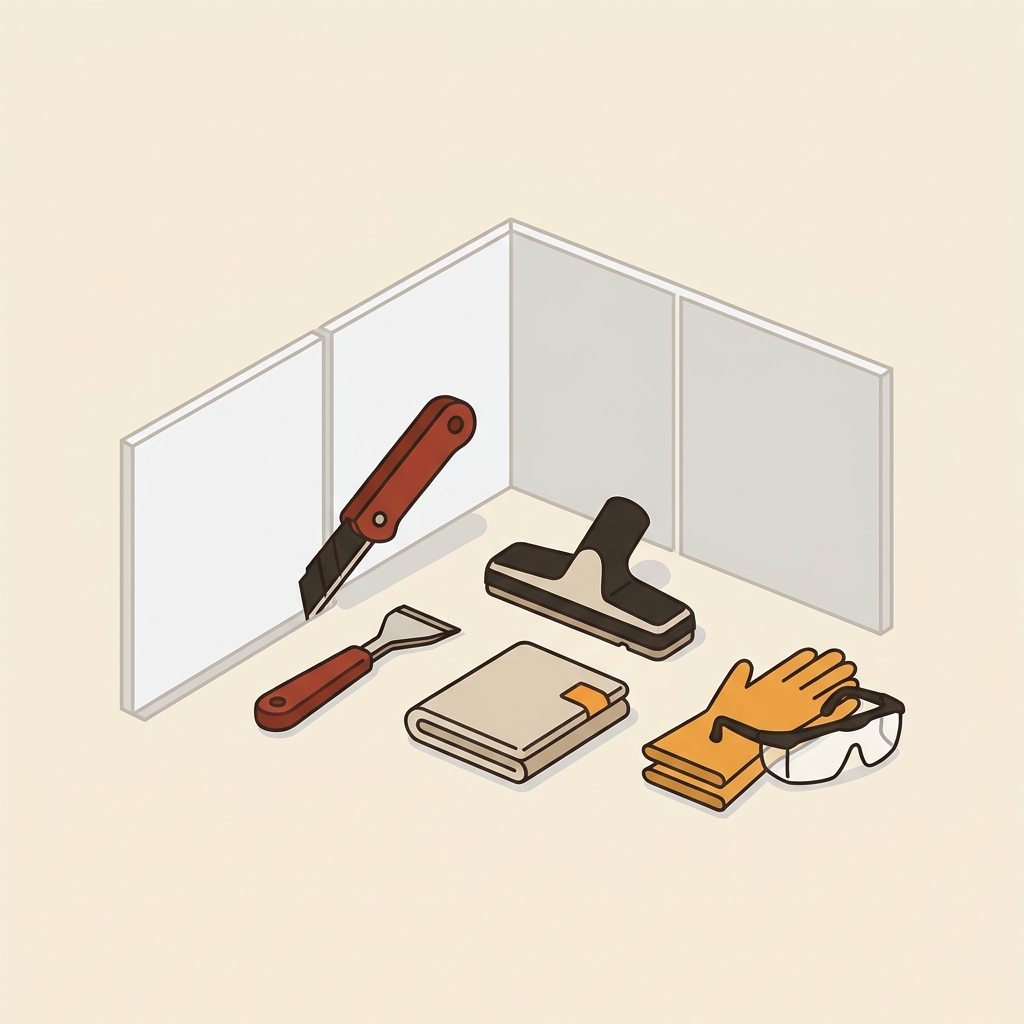
- Prep the joint. The surface must be clean, dry and free of old caulk. Remove any loose or failing material, wipe the area, and let it dry fully. For detailed removal tips, see our guide: Should I remove old silicone sealant before applying new? Providence Homes
- Tape for crisp lines. Run painter’s tape parallel to the joint on both sides. Press the tape edges down firmly to prevent bleeding. Providence Homes
- Cut the nozzle and load the gun. Cut the caulk tip at a 45-degree angle to a small opening that matches your joint size. Puncture any inner seal and load the tube into a caulk gun. Providence Homes
- Apply a steady bead. Hold the gun at about 45 degrees and move at a constant speed, aiming to fill the gap without voids. It’s better to apply a consistent, modest bead than a heavy one you’ll need to remove. Providence Homes
- Tool and tidy. Smooth the bead with a caulking tool or a dampened finger, pressing gently to ensure contact with both sides of the joint. Wipe excess onto a rag and carefully remove the tape while the caulk is still wet. Providence Homes
- Let it cure. Keep the area dry and avoid using the shower until the sealant sets per its label. A 24-hour wait is a common minimum. Providence Homes
What if my corners are already grouted?
Grouted corners often crack with minor movement. If yours are cracked or collecting grime, you can remove the grout just in the corner joint to create a small gap and then seal that gap with a flexible bead. That gives the corner some movement tolerance and a finish you can refresh later. The Floor Elf
Put this into practice
Separate changes of plane from the flat tiled field in your repair plan. Mark exactly where the failed material is, then check the shower-system instructions before replacing it with either grout or sealant.
Quick checklist: sealing a tub-to-tile corner
Good to know
- Silicone or caulk does not fix a leaking shower; leaks point to problems behind the tile. The Floor Elf
- If you prefer more guidance on removing old beads before re-sealing, see our silicone removal guide.
- For smooth application habits that prevent mess, see our practical caulking tips: Common caulking mistakes to avoid.

FAQ
Do I have to match the grout color?
Not required. Many people choose color-matched sealants for a unified look; clear or white silicone works too if you prefer a simple, serviceable bead. Check that your chosen product is rated for showers and follow its cure time. Providence Homes
Optional equipment for this guide
If you need a profiling tool, choose the joint shape and the sealant instructions first. The tool is optional; it does not decide which sealant is suitable.
As an Amazon Associate I earn from qualifying purchases. These are researched options, not hands-on test results. Check the exact size or model, current price and availability on Amazon.
| Product option | Fit and limits to check | Retailer |
|---|---|---|
| Product imageCramer Silicone 7 profiling kit | An optional finishing tool. Choose a profile suitable for the actual joint and follow the sealant’s tooling instructions; it does not replace removing failed sealant. | View on Amazon |