
The journal
Change shower door seals without removing the door
Some replaceable sweeps and edge seals can be changed with the door installed. Identify the exact door and replacement part before cutting, pulling or applying sealant.
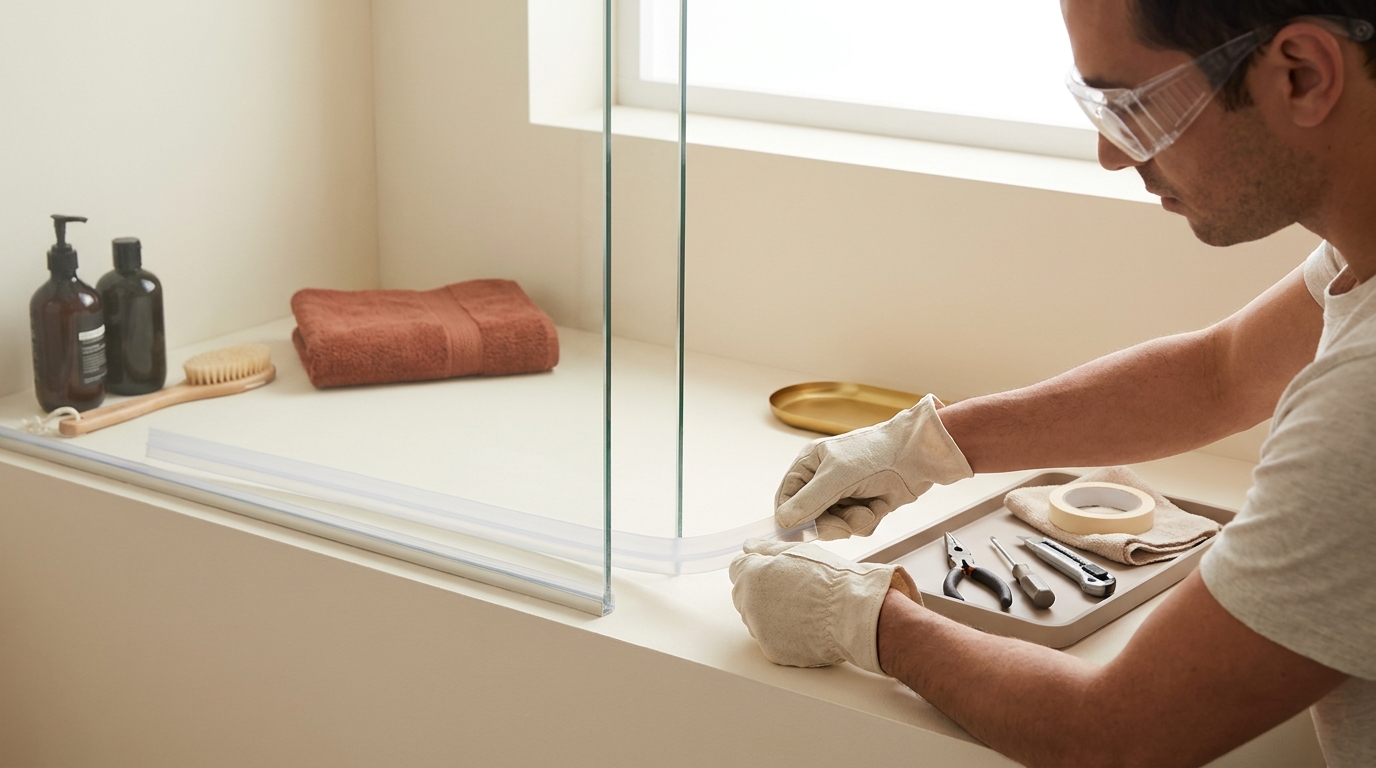
Sometimes you can change a shower-door sweep or edge seal without removing the door. It depends on the exact part and how it is attached. Check the door model and the manufacturer’s replacement instructions before pulling off a strip, removing screws or applying silicone.
Identify the part first
A replaceable bottom sweep, a magnetic edge seal and a fixed glass-support profile are different components. A part that looks like a simple trim may sit beside hardware that supports the glass. Do not loosen hinges, clamps or wall fixings merely because a generic guide says to remove a seal.
The MERLYN Hinge Door & Inline guide shows separate steps for seals, brackets and other hardware on that system. Its model-specific details illustrate why the component diagram matters. They do not prove that every door uses the same strip or replacement method.
Match the replacement to the door
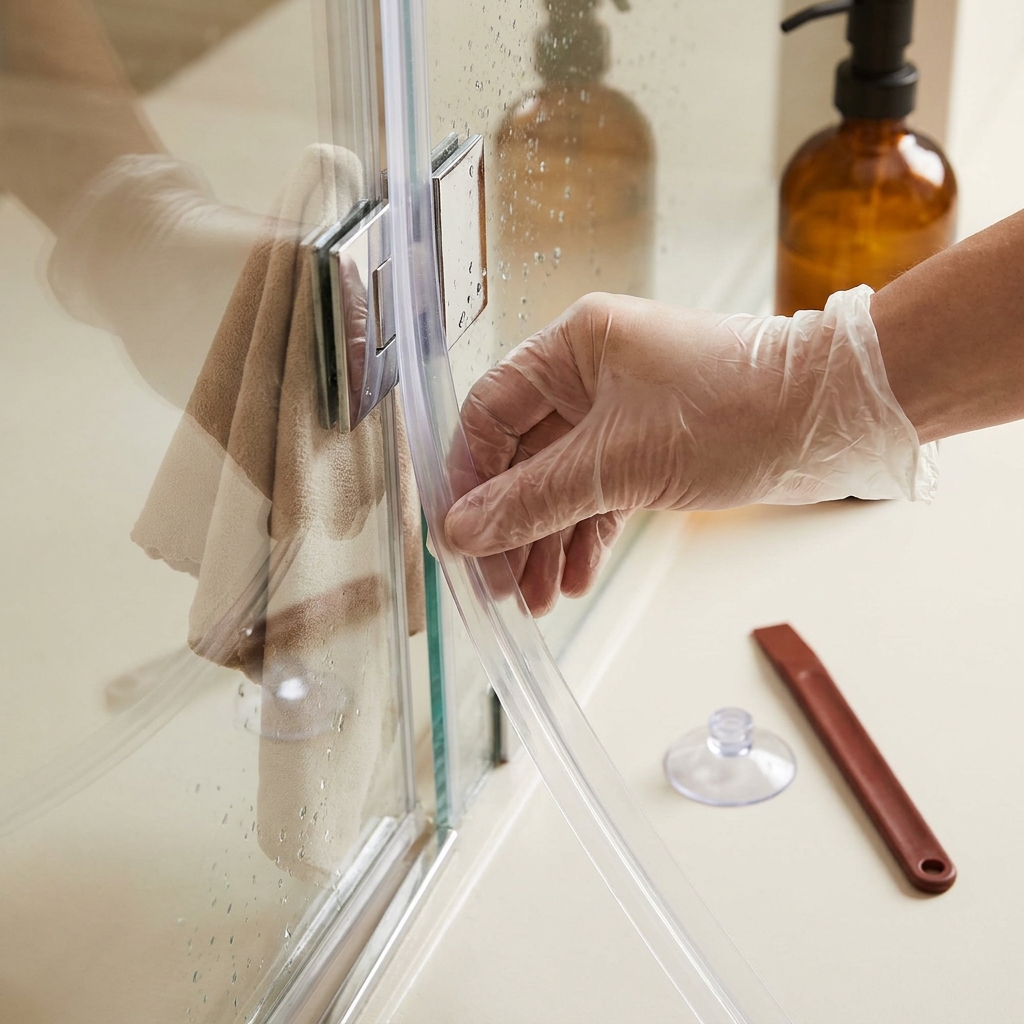
Find the model number, purchase record or supplier’s parts diagram. Photograph the existing strip and its position before removal. Check the specified profile, length, glazing compatibility and orientation when ordering the replacement. Similar-looking sweeps are not automatically interchangeable.
Royalty Mirror’s replacement guide describes several types of sweep and seal. Treat it as an overview: the exact door maker’s part identification and removal instructions still determine the job on your enclosure.
Check whether in-place replacement is intended
If the maker describes the part as removable with the door installed and you can access it as instructed, follow that procedure. If replacing it requires disturbing supported glass or hardware, arrange the appropriate installer instead. Difficulty removing a strip is not a reason to lever against a glass edge.
Use only the cleaning tools and agents permitted for the glass, coatings and frame. A razor scraper, solvent or vinegar treatment from another guide may not be suitable for your finish. Let the prepared surfaces reach the condition required by the replacement part’s instructions.

Fit the part and check the result
Follow the specified fitting direction and any cutting instructions. Do not apply adhesive or silicone to a press-fit component unless its instructions require it. Keep intended openings and moving parts unobstructed; an extra bead is not a universal leak repair.
Check the door’s normal movement and the replacement’s position before use. Observe any specified waiting period and testing method. If water still escapes, record where it appears and ask the supplier to check the setup rather than sealing every visible gap.
Put this into practice
Photograph the old seal’s cross-section and measure the glass and seal dimensions before ordering. If the door needs adjustment or the replacement cannot be fitted safely in place, stop rather than forcing the glass or assuming every door uses the same strip.
Before replacing a shower-door seal
For the separate question of sealant placement, read our guide to inside and outside shower-door sealing. A replaceable sweep and a cured sealant joint need different instructions.