
The journal
Can you use your finger to smooth silicone caulk?
Some caulking guides describe fingertip tooling, but follow the exact sealant’s handling precautions. A suitable profiling tool is an alternative to direct skin contact.
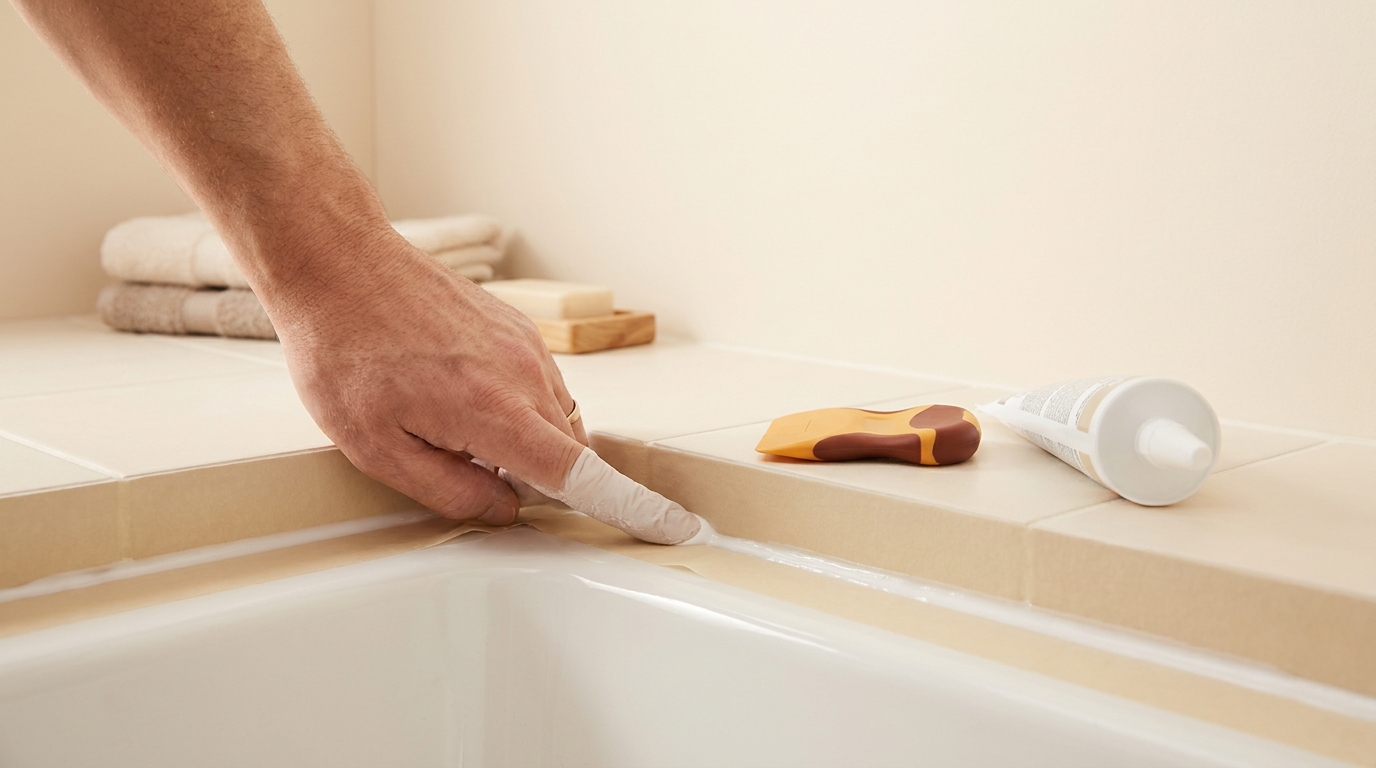
Some general caulking guides describe fingertip tooling, but use that method only if the exact sealant’s instructions and skin-contact precautions permit it. A suitable profiling tool is an alternative. The key is to lightly wet your fingertip and tool the bead immediately after application, before the surface starts to harden, then let it cure per the label (Sherwin-Williams), (Red Devil).
When a fingertip works well
Red Devil’s general guide describes fingertip tooling; that is not a compatibility or skin-safety statement for every tub-and-tile sealant. Keep even pressure and pace, and smooth in short sections so you don’t overwork the bead (Red Devil). Use only the tooling liquid, if any, permitted by your exact sealant. Do not assume that water or alcohol is compatible with every formulation (Red Devil).
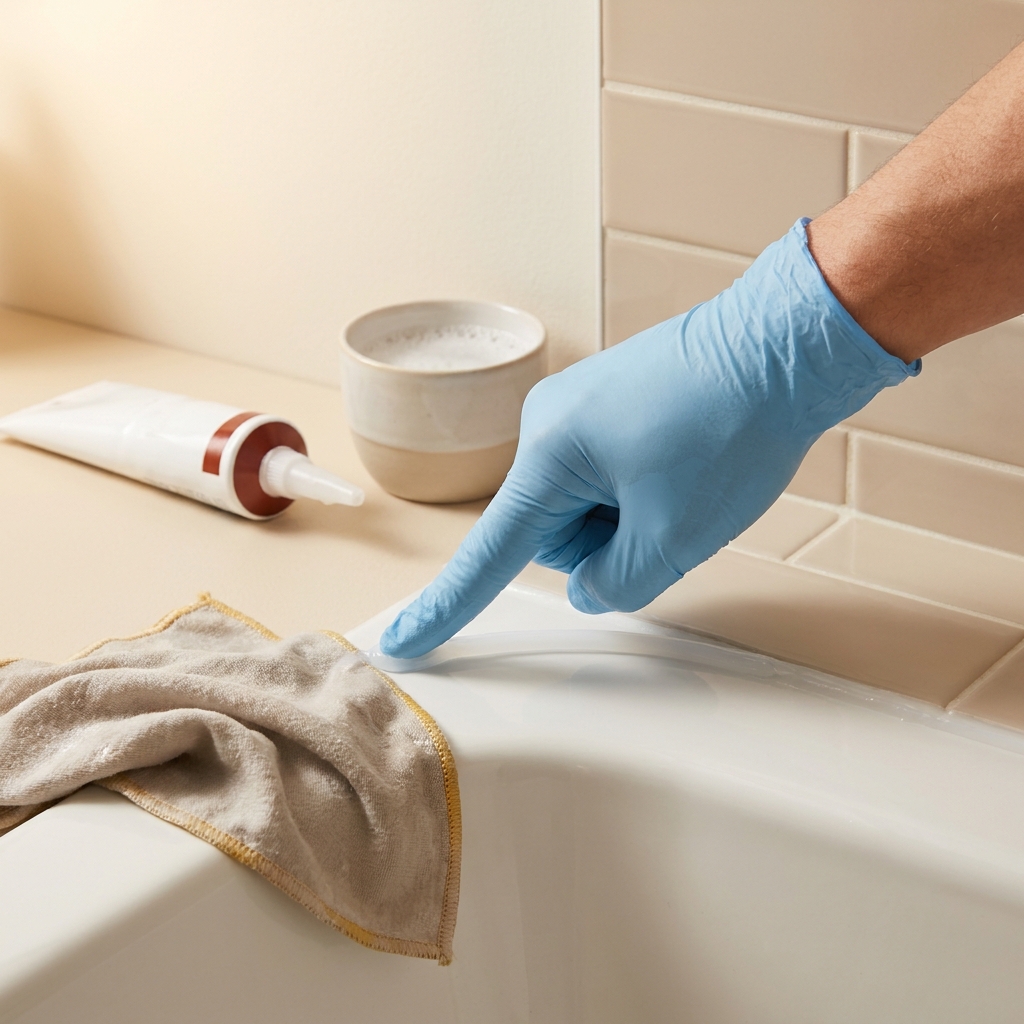
Step-by-step: tool a neat silicone bead around a tub
- Prep the joint. Make sure the surfaces are clean, dry and sound before you start (Sherwin-Williams Painter Training).
- Tape for crisp edges. Run painter’s tape along the tub lip and the tile or wall to frame the joint and keep lines straight (Red Devil).
- Cut the nozzle. Use the cutter on your caulk gun to trim the tip at about a 45-degree angle to a small opening, then pierce the inner seal and load the tube (Sherwin-Williams).
- Lay a steady bead. Point the tip into the joint and squeeze a consistent bead without stopping and starting (Sherwin-Williams).
- Smooth immediately. Lightly wet your fingertip and tool the bead in short, even passes. Wipe excess onto a damp rag and continue. Work before the caulk skins or cures (Sherwin-Williams), (Red Devil).
- Let it be. Avoid disturbing the bead and follow the silicone’s label for dry/cure time before exposing it to water (Sherwin-Williams).
Practical tips to avoid mess
- Frame the joint with painter’s tape to keep edges straight and cleanup simple (Red Devil).
- Keep an even pace and pressure; smooth in short sections until the whole run looks uniform (Red Devil).
- Have a damp cotton rag handy to wipe away excess from your finger and the tool area as you go (Sherwin-Williams).
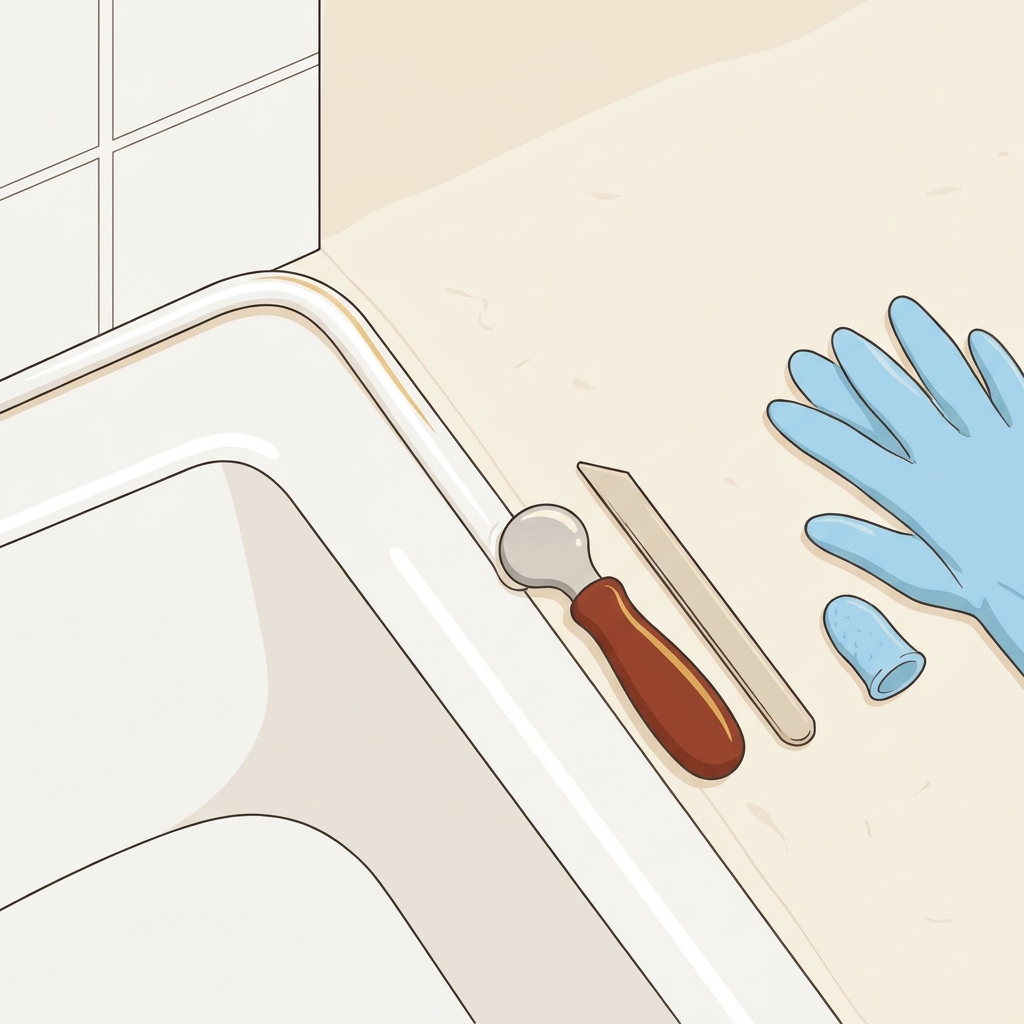
Prefer not to use your finger?
You can get the same shaping by using a small caulk-smoothing tool. The technique is the same: apply an even bead, then tool it promptly with light, steady pressure. If you use tape, frame the joint first, tool the bead, then clean up while the caulk is still workable.
Common pitfalls (and easy fixes)
- Waiting too long to smooth. Silicone becomes harder to shape as it skins; tool immediately after laying the bead (Red Devil).
- Dirty or damp edges. If the joint isn’t clean and dry, the bead won’t adhere well. Wipe, dry and start over where needed (Sherwin-Williams Painter Training).
- Uneven pressure. Ridges or thin spots usually come from inconsistent pace. Reapply a little caulk only where needed and retool right away (Red Devil).
Put this into practice
Prepare the joint, the selected profiling tool and the manufacturer’s tooling instructions before opening the sealant. Practise the profile on a disposable sample rather than experimenting halfway along the visible joint.
Quick checklist: tool a clean bathtub silicone bead
Related reading from Home by Doing
- Should I remove old silicone sealant before applying new?
- Should I use plumber's putty or silicone to seal my sink drain? Practical guide

FAQ
Can I smooth silicone after it starts to skin?
It’s best to smooth right away. Smoothing is easiest and neatest before the bead hardens; working in short sections helps keep the finish even (Red Devil).
Optional equipment for this guide
If you need a profiling tool, choose the joint shape and the sealant instructions first. The tool is optional; it does not decide which sealant is suitable.
As an Amazon Associate I earn from qualifying purchases. These are researched options, not hands-on test results. Check the exact size or model, current price and availability on Amazon.
| Product option | Fit and limits to check | Retailer |
|---|---|---|
| Product imageCramer Silicone 7 profiling kit | An optional finishing tool. Choose a profile suitable for the actual joint and follow the sealant’s tooling instructions; it does not replace removing failed sealant. | View on Amazon |